The Process


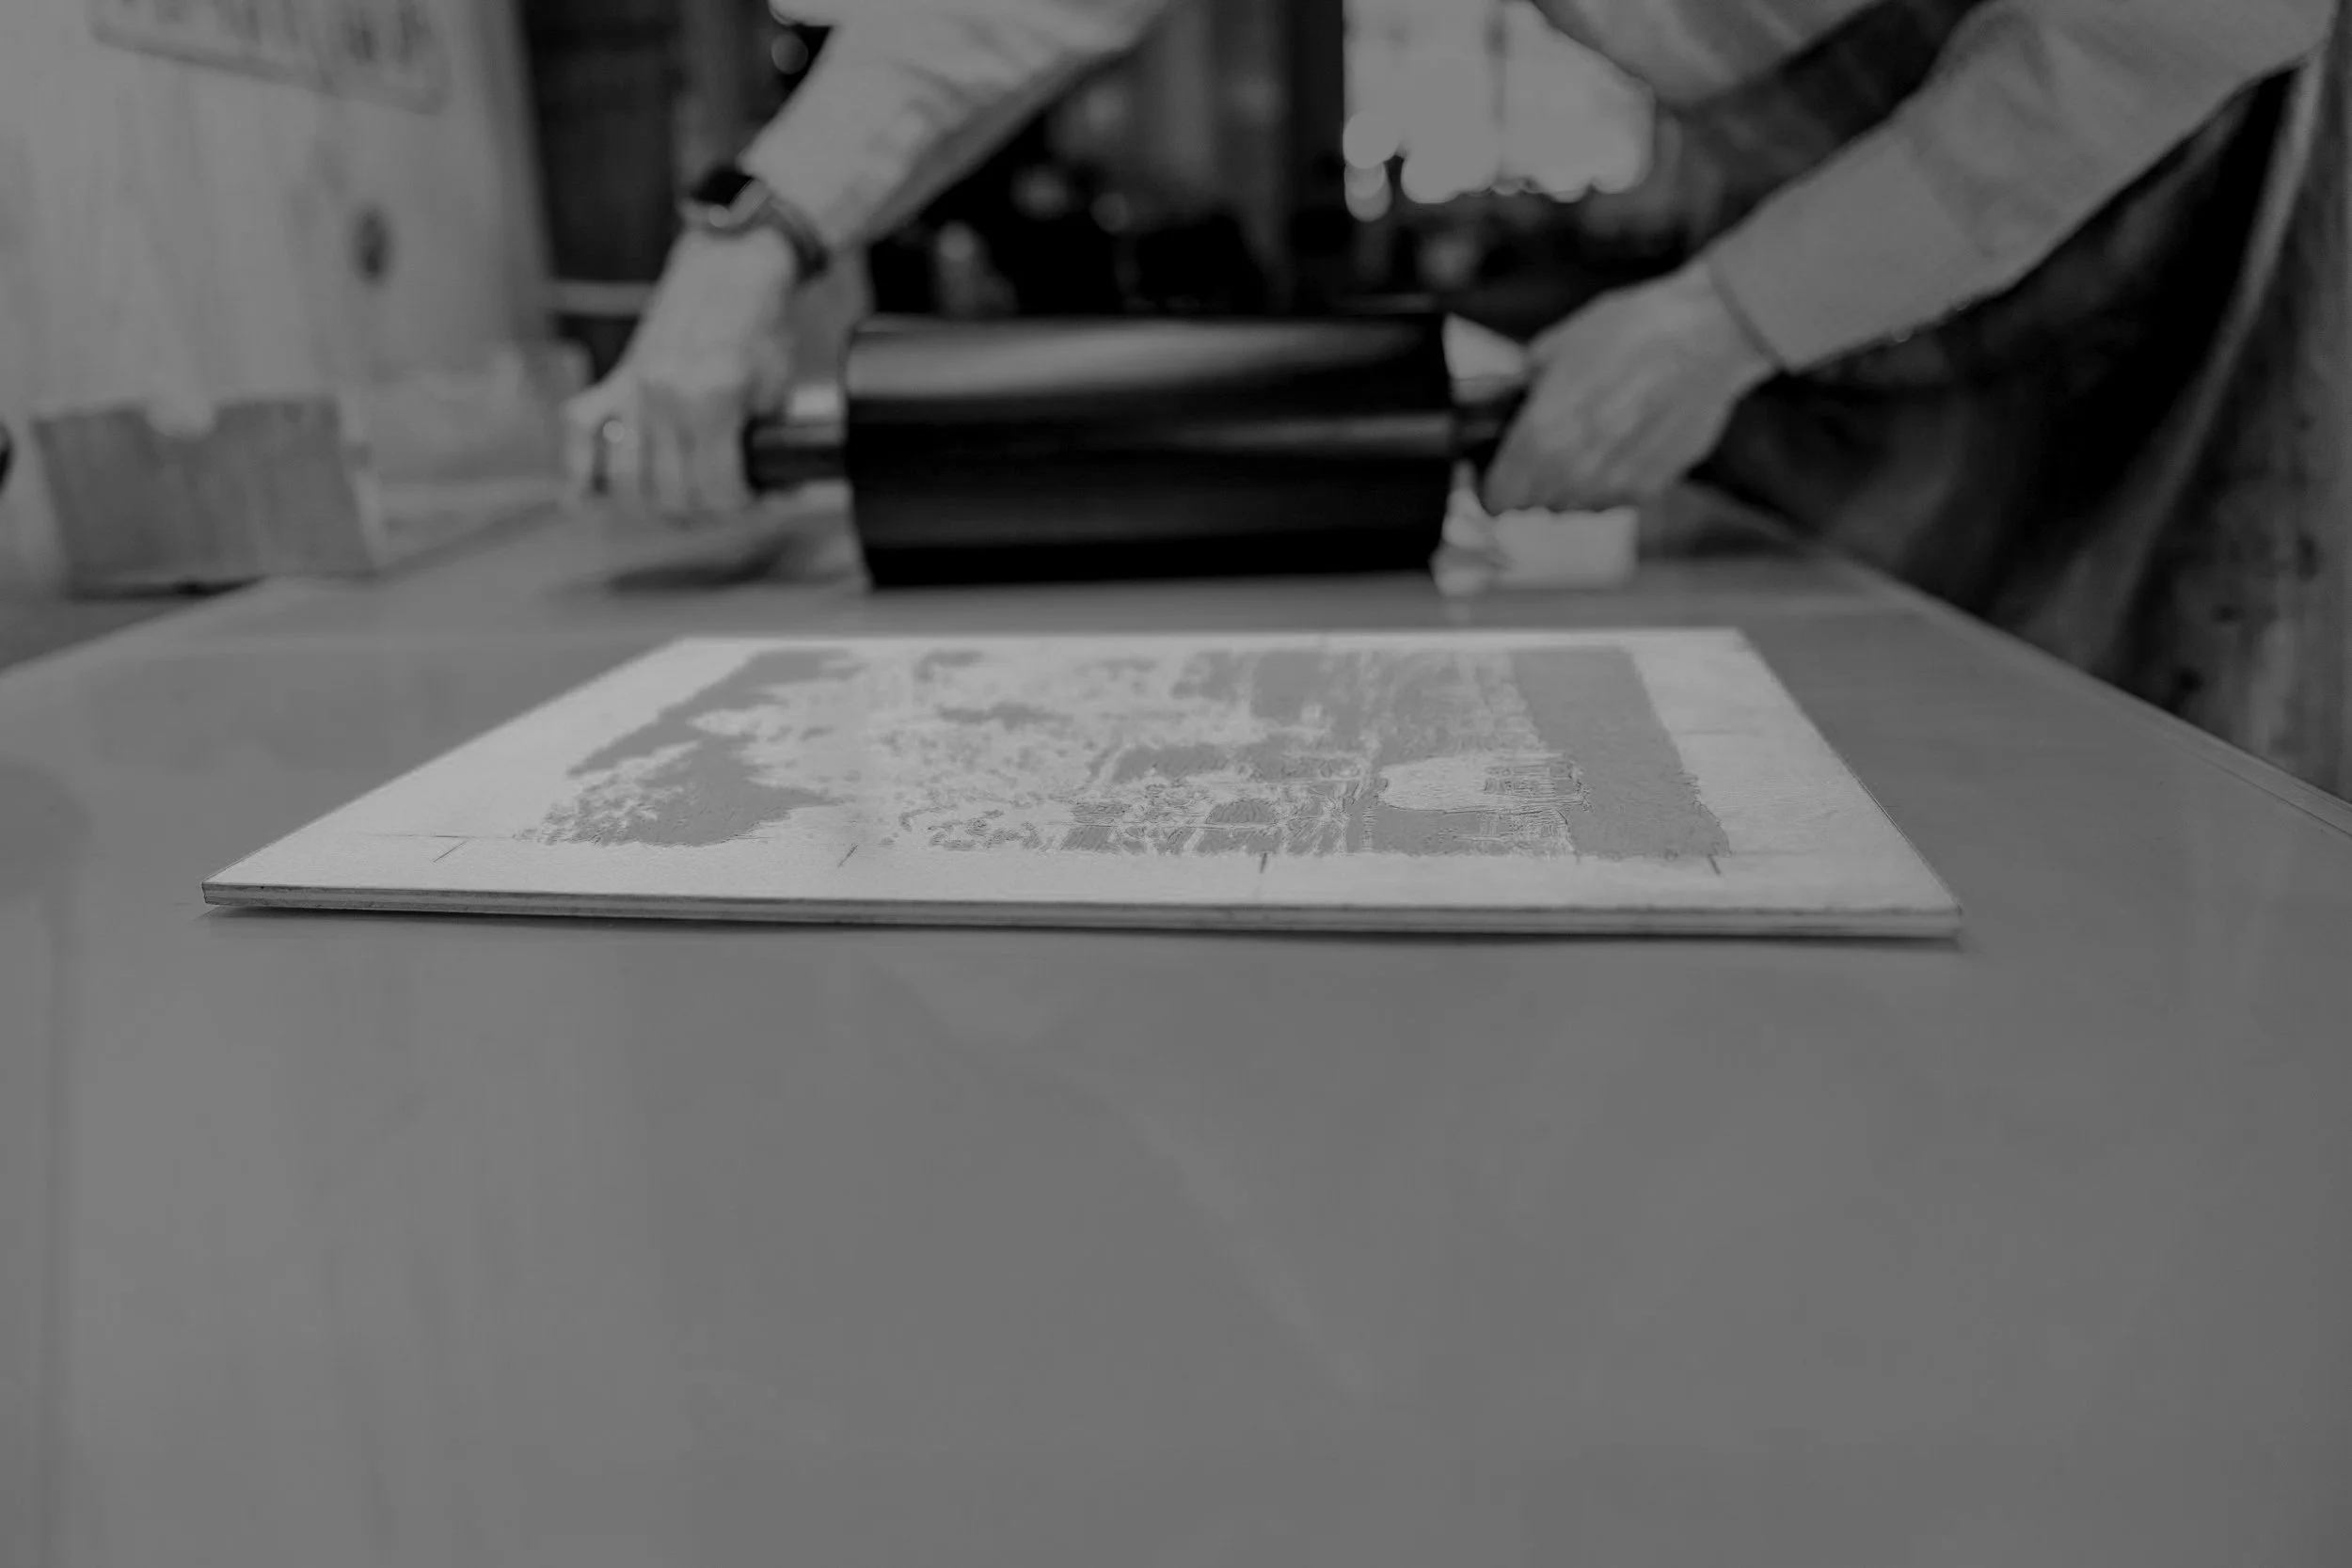
The beautiful individual nature of each woodcut is the result of being hand inked and rolled through an etching press.
Below are “quick” looks at how the paper changes through different stages of the print process and respectively, how the plate changes, as parts are carved away before the next color is mixed and rolled on. The resulting print is of a snowy plover for Point Blue Conservation Sciences, “I Have a Secret”.

My process is simple yet convoluted.
Simple because it is based on the oldest form of duplication, convoluted in that everything has to be done in reverse…..with few ways to correct any errors. The basic steps are:
BEFORE CARVING
Gather inspiration • sketch lots and lots of thumbnails to tighten composition • paint a mockup to size to test value and color
PLATE PREPARATION
Transfer final image to wooden plywood plate • cover plate with thinned red acrylic • seal plate with shellac
PAPER PREPARATION
Decide on type of paper and size of the edition ( I always make mistakes so I plan on at least 5 additional test sheets) • tear sheets of paper to size • run each sheet through the press to minimize stretching • Make registration marks on plate and paper
CARVING
Carve out everything that you want to stay the color of the paper. (For me, this is one of the fun parts!)
INKING
Mix the color for the first pass through the press. • roll the ink evenly onto the plate with a brayer
PRESS RUN
Place the paper carefully onto the inked plate matching registration marks • move the “sandwich” to the press • run it through
REPEAT
Carve out of the plate all areas that you wish to stay the color you just ran….repeat the inking and press run. This is done for each color, the most times I have run a print through the press is 18 which adds up to 540 times through the press for a final edition size of 25. I use an etching press which makes each individual print unique.